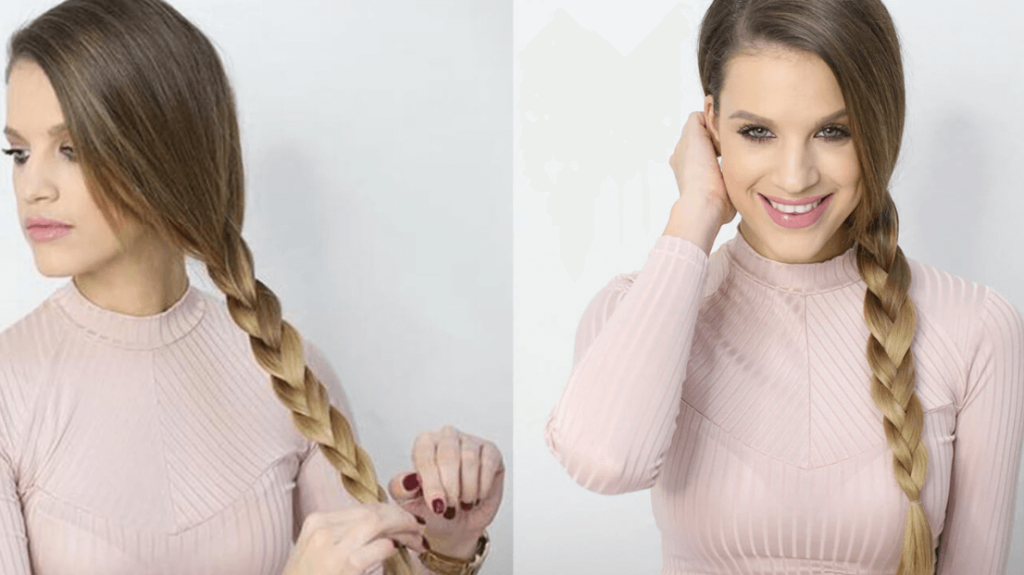
A Simple Step-By-Step Guide into Creating a French Braid

French braids are known for their versatility and classic look. They fit every occasion perfectly, from elementary schools to high-end red carpet fashion events. However, there is one thing that this hairstyle is not famous for-the ease of styling or execution.
But comparatively, French braid is much easier to execute than it may look. Read through this article to get a step-by-step procedure for making this classic but straightforward hairstyle as outlined by most Dallas braiders.
Gather Basic Supplies
Regardless of the chosen braid style to make and whether these supplies will be used or not, it is vital to have them close for accessibility should they be needed along the process. Here are the basic supplies required for braiding.
- An elastic hairband.
- Matte bobby pins.
- Japanese hairpins.
- A detangling brush or a comb.
- Hair spray or dry texture spray.
Detangle The Hair
Comb through the hair to remove any tangles or knots. For fine hair that is easily tangled, use a detangling brush like Tangle Teaser or Wet Brush. For thicker hair that is rarely brushed, it is best to use a wide-tooth comb.
Create Three Sections
Creating this braid requires the creation of three sections-one on the right, another on the left, and one from the left. While there is no standard rule on where to start, starting from right on top of the head to the center is essential for a more secure and tighter French braid.
Left Section over the Center
Start by taking the hair on the left section to the center, allowing it to be on top, taking the position of the center section. While overlapping the left over the center, switch the original center section hair to the left side. Do this process while adjusting hands for firmer grip.
Right Section over the Center
Once done with the left section, do the same to the right side. Once again, ensure to pull each section into their new positions. There is no reason to handle the hair delicately around the head; keep the steps tighter along with the procedure.
Add Hair To Left And Right Sections
While grabbing the left section of the hair, add extra hair from the left side. This will thicken the section before switching it over to the center as before. After adding the extra hair, repeat the initial step and move the whole section on top of the center strands.
Repeat the above step with the correct section. Add hair from the right side to the center section, making it thicker before moving it to the center.
Continue to the Nape and Finish Off with a classic braid
Continue adding hair to the left and right sides before carrying the sections over. Do this up to the nape of the neck until there is no hair to add to either section. Continue with the three braids to make a classic look.
Secure The Ends
Secure the ends of the braids leaving around half to one inch out. The tighter the braids, the less they’ll want to leave out and untangle. Once the hair is locked tightly, get back and adorn it with the best accessories for French braids.
Conclusion
French braid may seem challenging to make though it is easier than it may look. Seek guidance from Dallas braiders and follow the steps outlined in this post.


